How To Curl Your Natural Curls
When I asked you guys if you’d rather me record a video on how I’m currently styling my curls or write it out, you said both because you’re greedy. But that’s okay, because I’m greedy, too and I have the time, so I absolutely did record a full ass video, and this is the accompanying blog post. However, as of right now today (October 4 around 5:30pm), Instagram is still acting a fool and I can’t post the video yet, so you guys are getting the first sneak peek at my most recent curly hair routine!
I say this in the video, but my routine is always changing. That’s just the nature of having curly hair. Just when you think you’ve found the perfect step-by-step routine, you’re wrong. There’s still more products and techniques to try, always. So instead of labeling this as “How I Style My Curls,” I’m gonna be way more specific, i.e. this is how I’m styling my curls right now or this is how I style my curls sometimes.
A quick bit of background about my new routine: 6 years ago, my sister introduced me to a curling wand. She wrapped a few of my natural curls around it, and I immediately fell in love with how it reshaped my hair and how it looked. So, I got hooked to the curling wand. And, because I’m a fool, I didn’t use any heat protectant ever. Like a true dumbass, I would apply heat directly to my naked curls and then, years later, wondered why the fuck my hair was so dry and damaged.
In 2018, I chopped off my curls to start over and retired my curling wand. So, for the past three years, I’ve been using only products and NO heat on my hair ever. However, I decided about a month ago that maybe I could re-introduce the wand into my routine if I was smarter about it this time, so that’s what I’ve been doing.
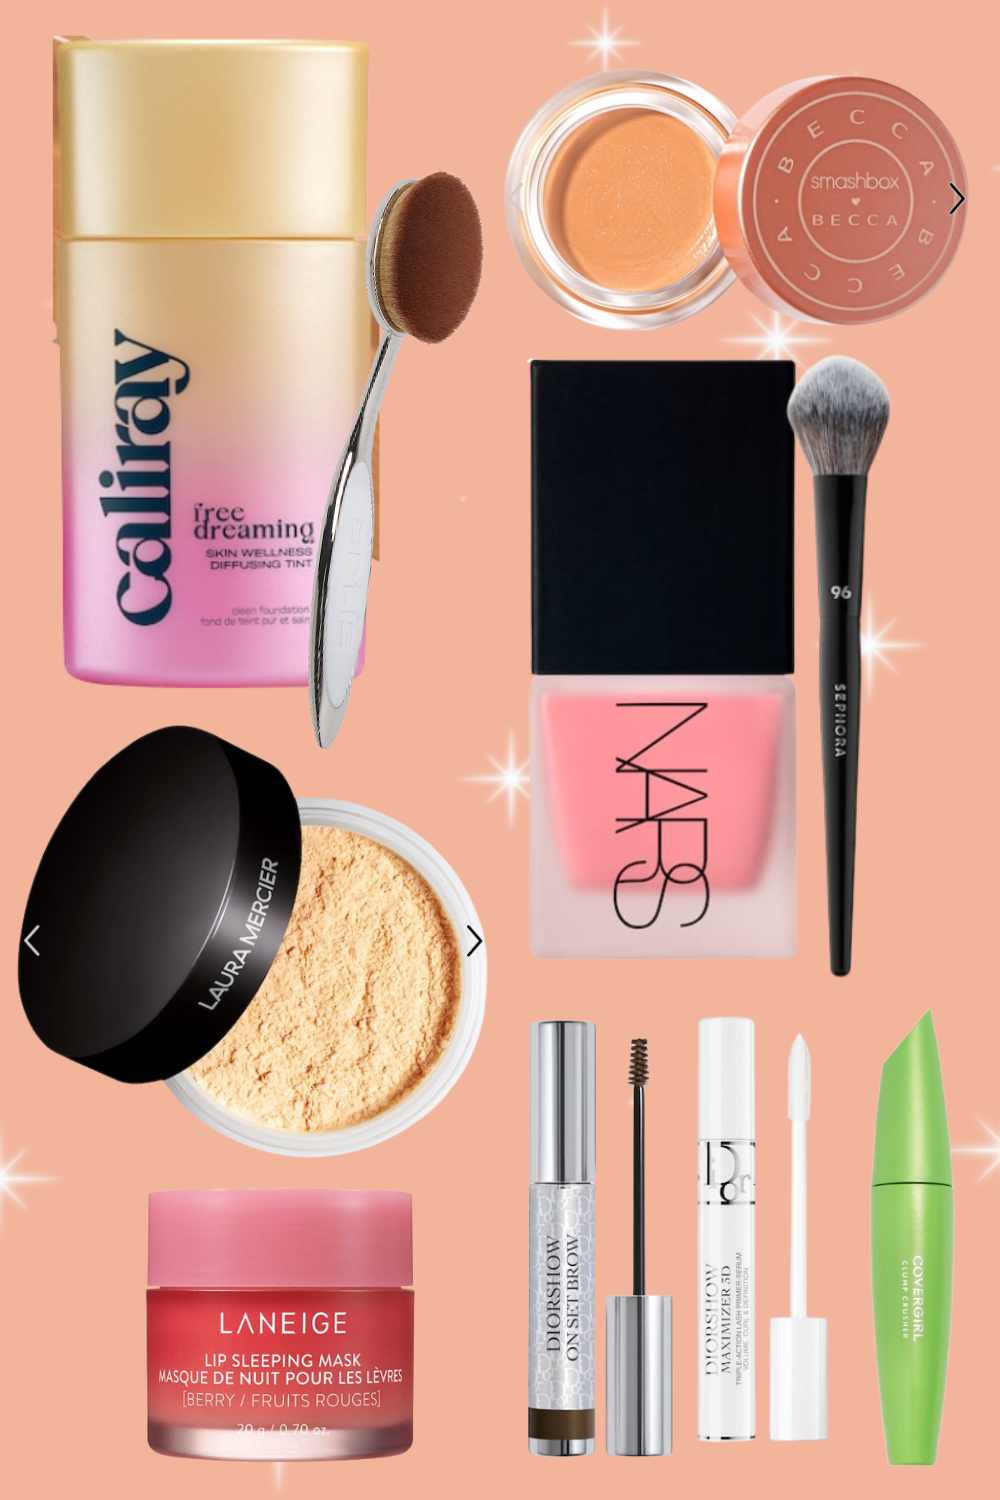
To organize this post better, I’m going to first list off the products I use so you can make a running list and have easy-to-click on links for them.

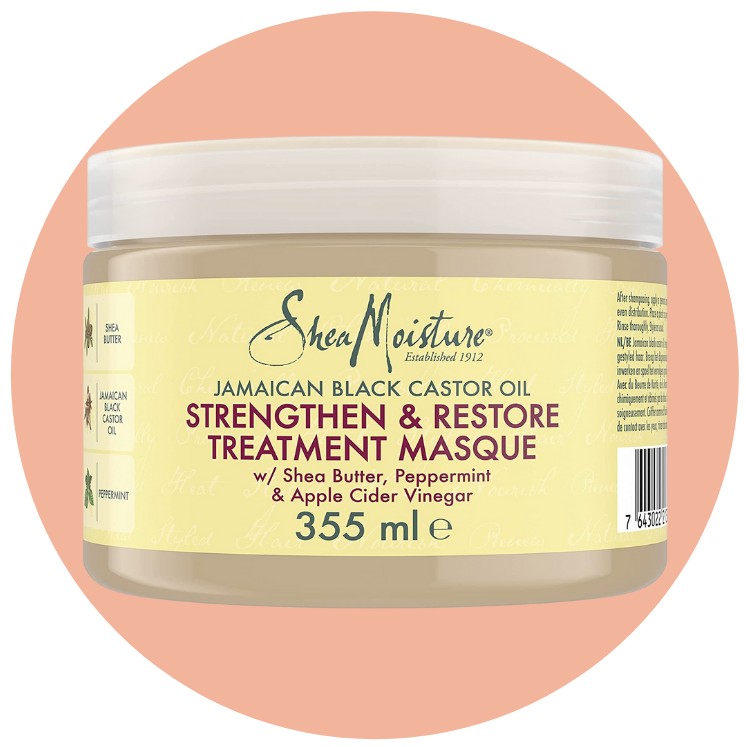
Step 1: Mask On
On a big wash day, I start with a hair mask to hydrate the crap out of my locks. The mask I use Is by Shea Moisture and is the Jamaican Black Castor Oil hair mask. This product should always be applied to wet hair—how long you let it work is up to you. If you have the time, apply it and let it sit on your hair for 30 min. If not, get in the shower, soak your hair, work it in, and put on a shower cap for 10 minutes. This is how I start wash days.
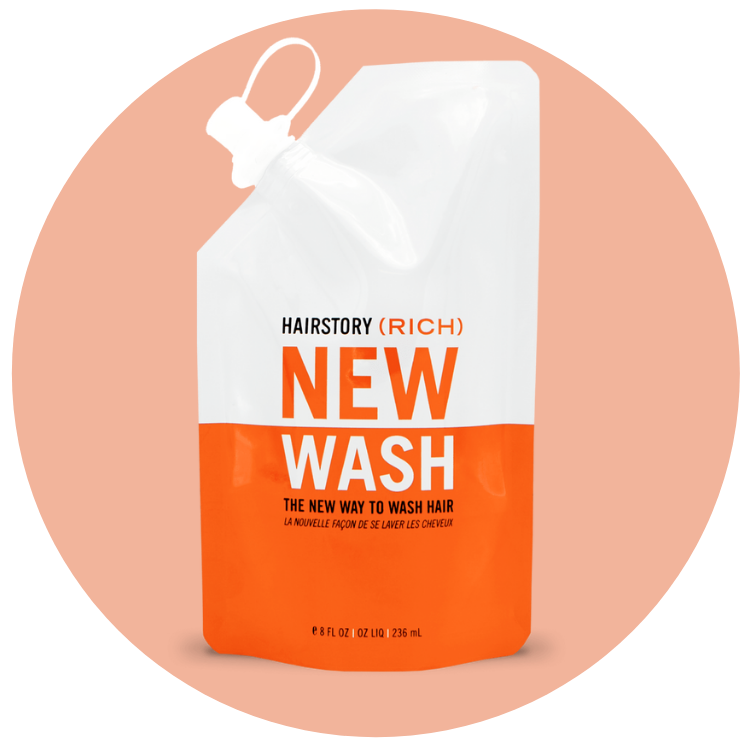
Step 2: WASH UP
Once I rinse the mask out of my hair, I cleanse it with Hairstory’s New Wash (Rich). I use GLOBS of this shit. There’s no such thing as too much. I really work it into my hair and make sure no curl is left unattended. Once I’m satisfied, I rinse it out super well.
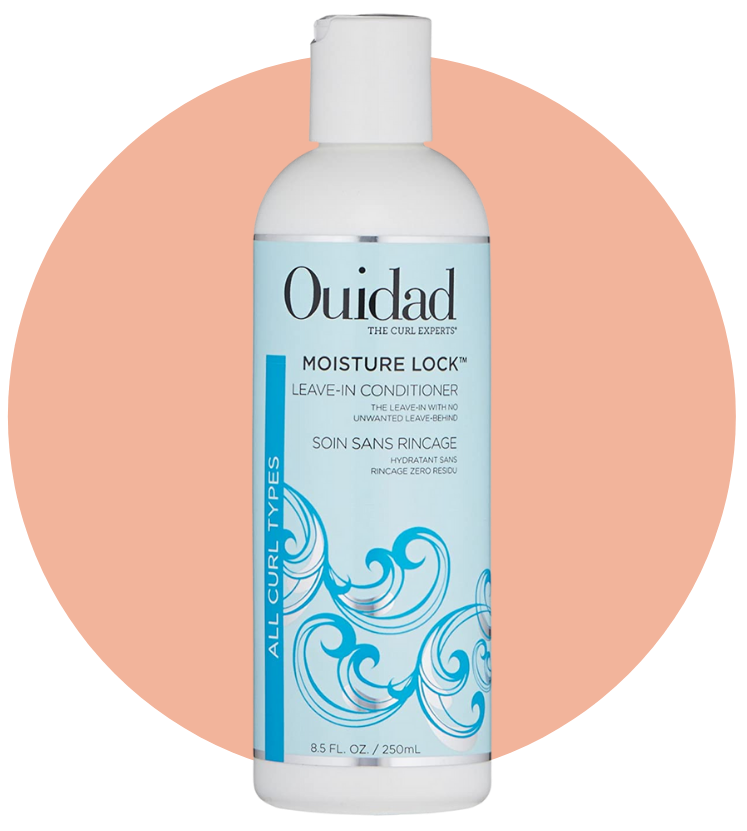
Step 3: LEAVE IT IN
This next part is probably the most important part of this entire process. As I explain in the video, curly hair can never have enough moisture. Therefore, you can and should use all the leave-in you want. The most important thing is to put it in when your hair is WET. Not just damp, but like super wet. It’s the very last thing I do in the shower, right before I turn it off and get out. I work as much as I feel necessary through my locks, scrunch them up a bit, then turn off the water and wrap my hair in my trusty Devacurl hair towel. I love Ouidad’s leave-in for this.
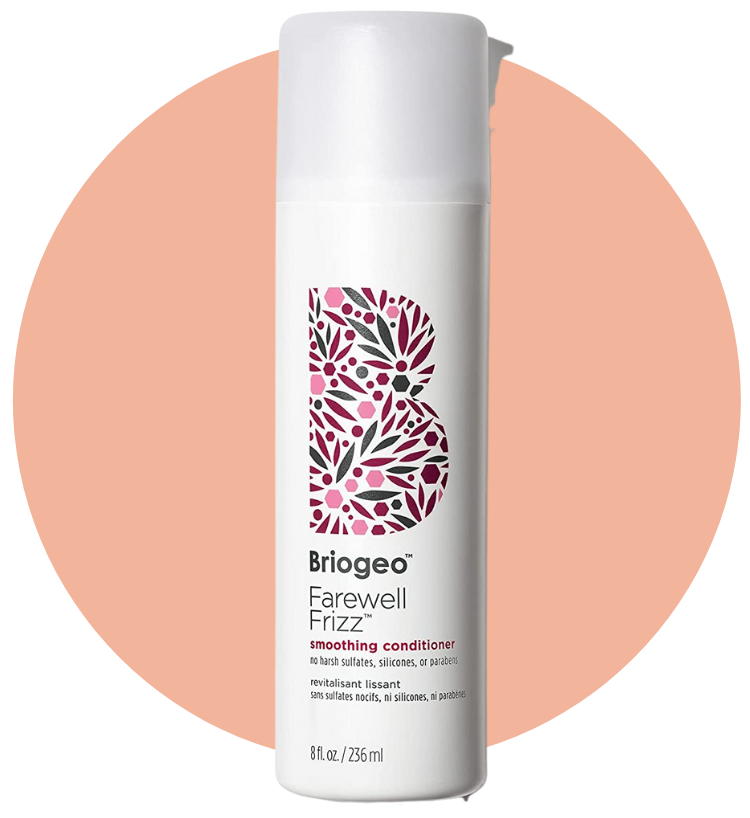
STEP 4: leave in even more
For good measure, I use two different leave-in conditioners. As soon as I take my hair down from the towel (no longer than 3-5 minutes), I soak the ends of my hair with this leave-in spray by Briogeo. I also spray some on the top of my hair and on the roots for good measure! Now we are fully and truly conditioned.
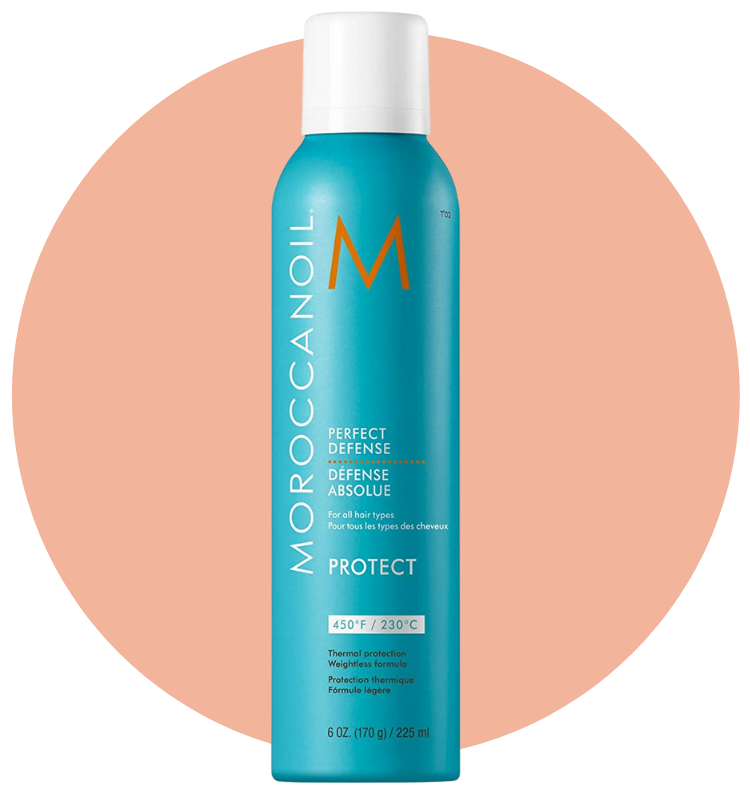
STEP 5: PROTECT YOUR LOCKS
Don’t be a fool like me who never used to use any sort of heat protectant. My last product in this routine is Moroccan Oil’s heat protectant spray. It smells like heaven (just as all MO products do), and you don’t need to use too much for it be effective. Just a few spritzes and you’re good to go!
step 6: GET BUSY DRYING
I do everything I can to avoid using a diffuser. For me, I feel it makes my curls even frizzier. Instead, I try to time out my washes so my hair has ample time to air dry on its own. If not, I will resort to a diffuser but I’m probably not happy about it. My hair takes 2-3 hours to fully dry, so if you’re wondering how much of my day has to be dedicated to dry-time, it’s a lot.
STEP 7: go to bed or get to curling
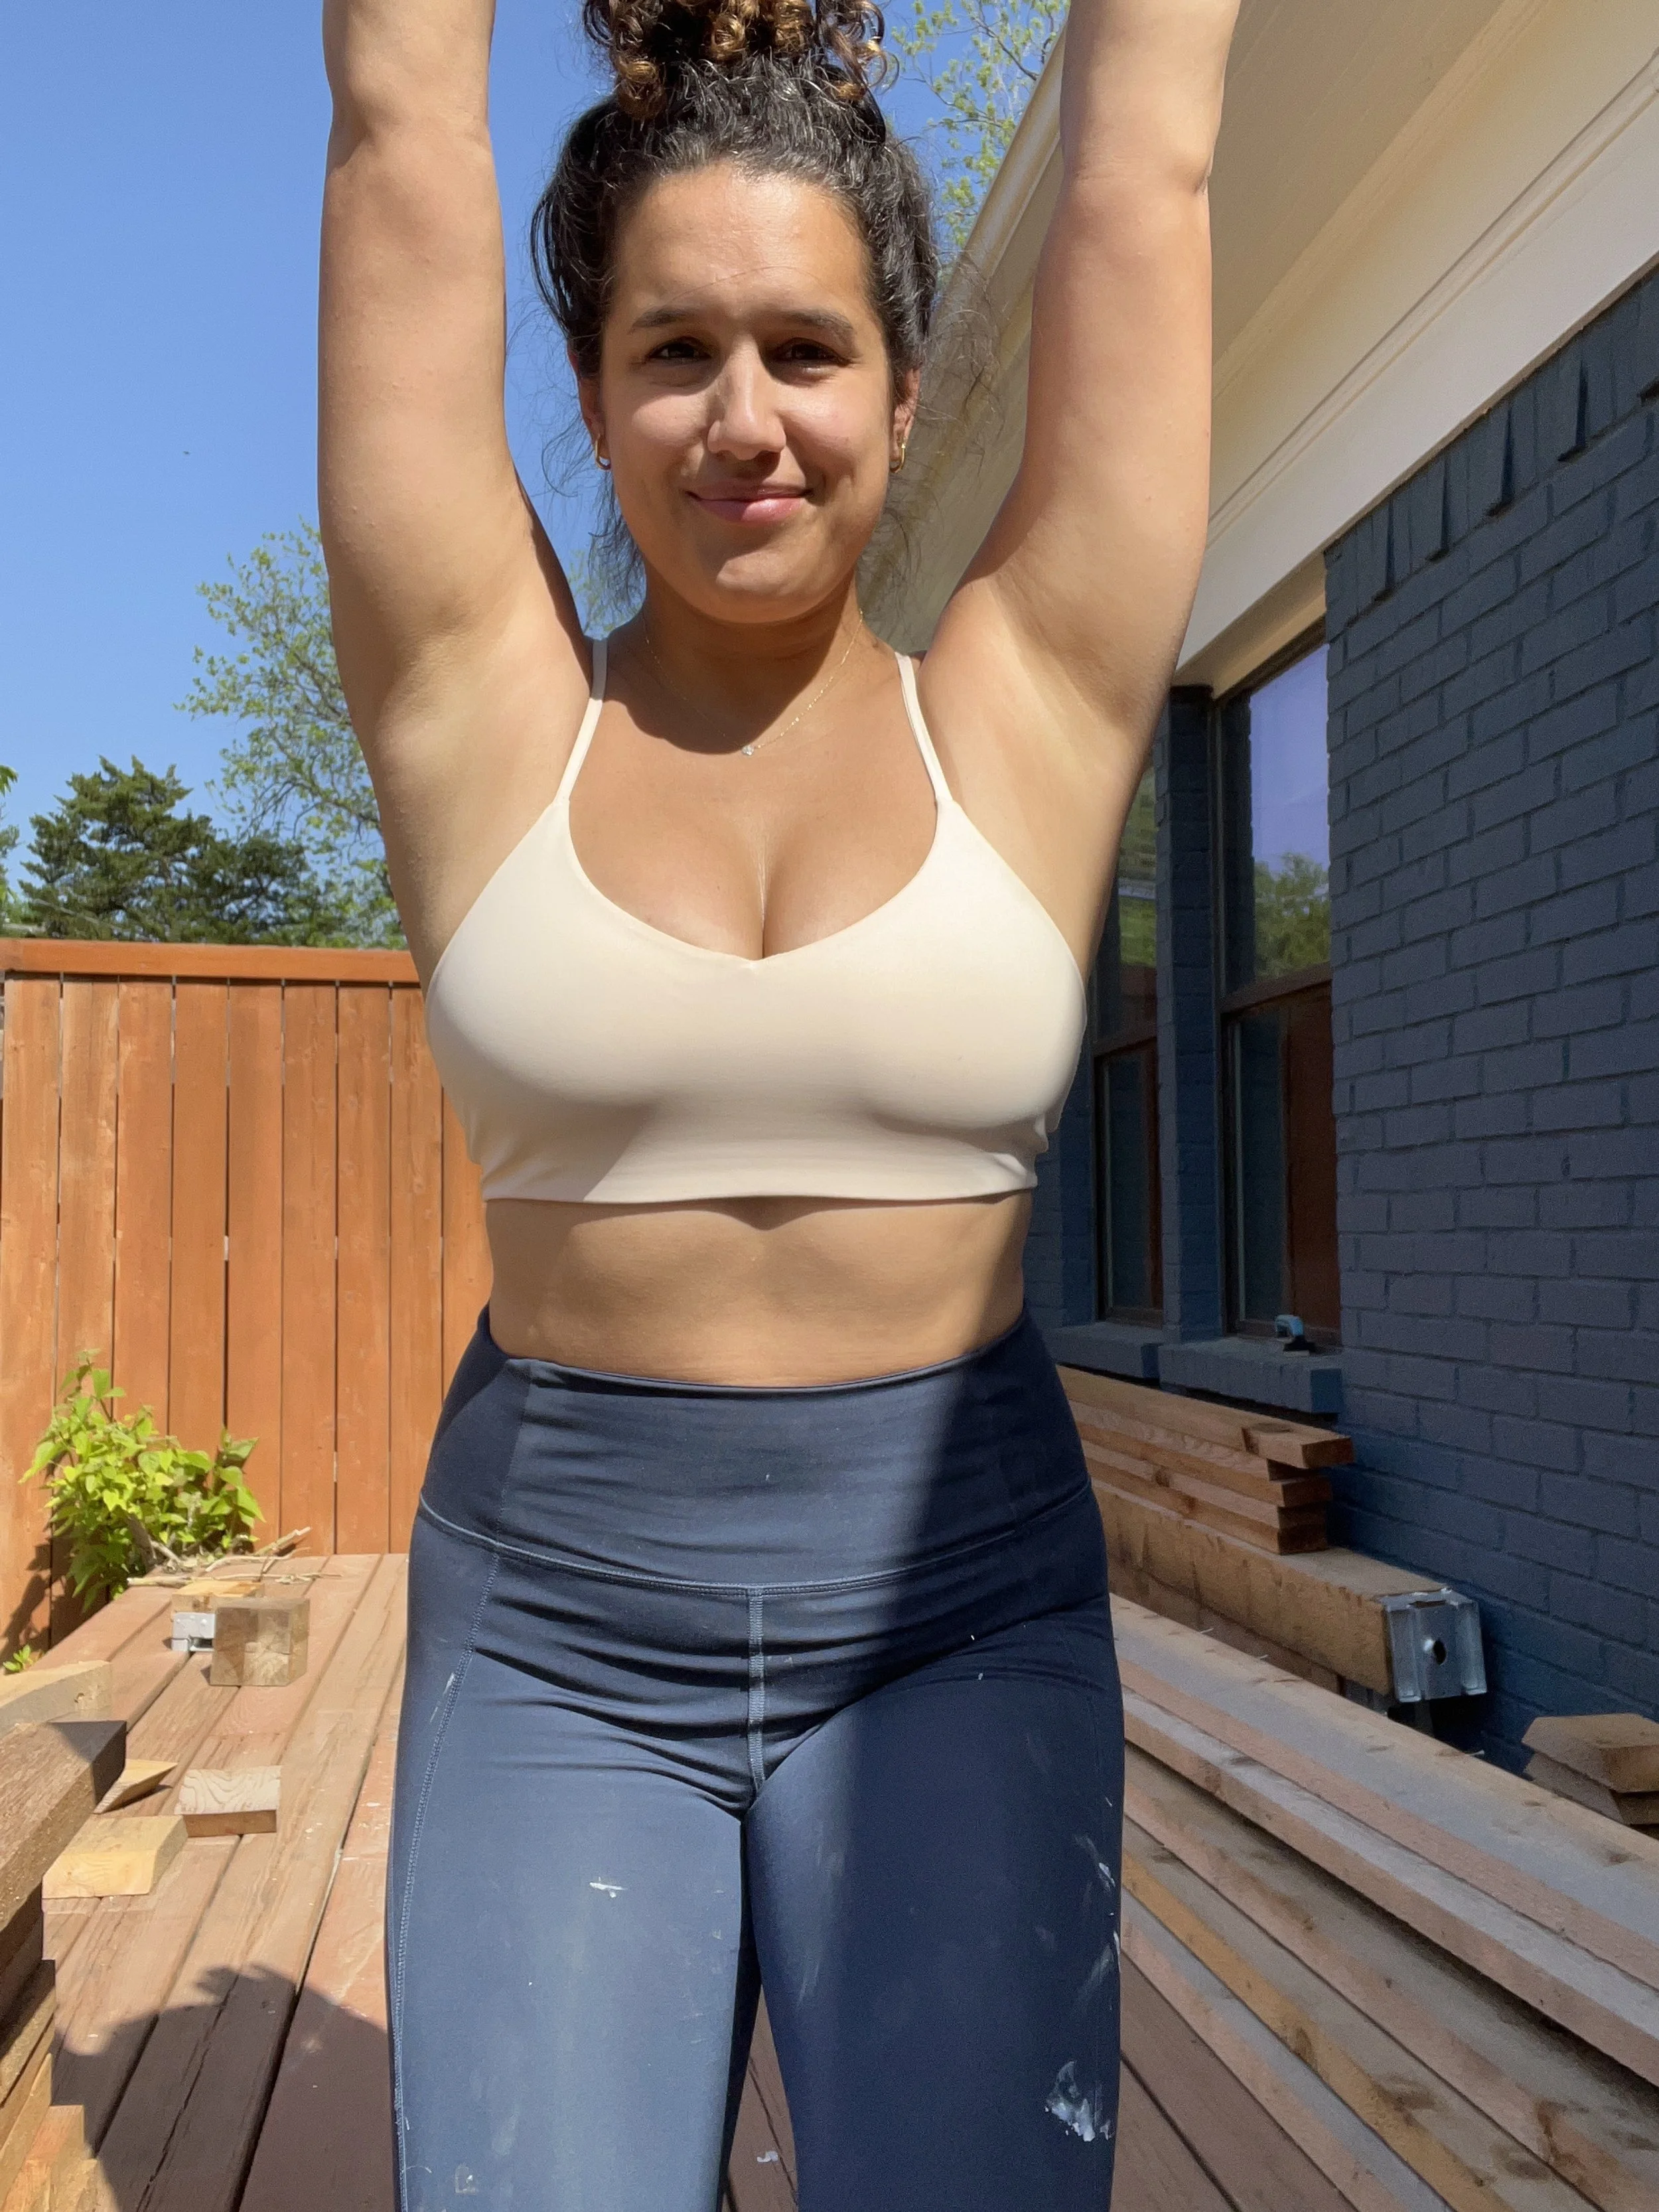
If it’s nighttime and you’re off to bed, let your hair dry as much as you can then tie it up in a loose, pineapple ponytail at the top of your head to save your curls from getting crushed during your sleep.
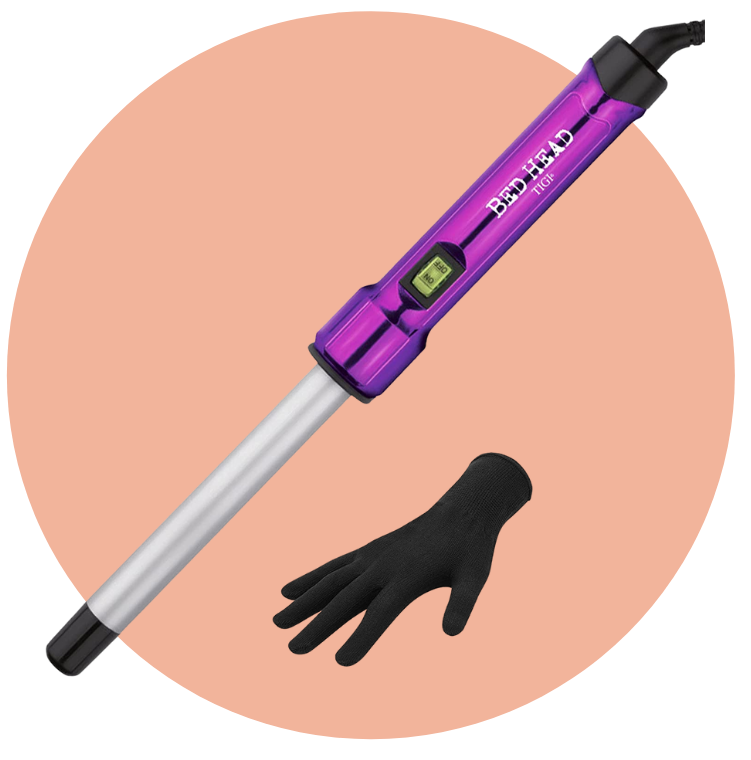
If it’s daytime and you’re ready to style your curls once they’re dry, whip out the curling wand and heat ‘er up. How and how many of your curls you choose to re-curl with the wand is completely up to you. As you can see in the video, I don’t necessarily have a method. I sort of just pick out curls I feel would look better if they were treated with the wand! I would say, in total, I curl 10 curls. It’s not about curling every lock–your hair is already naturally curly. The wand is helping to add a bit of definition and continued texture to your already fabulous hair! So curl as you see fit.
Afterwards, I usually give my hair a nice shake out, flipping over and really tousling the roots. From there, I sort of let nature take its course over the next several days. Some days, I wear my curls as is. Other days, I spray on a bit more heat protectant and re-curl some pieces if need be. Of course, I know using heat a lot on your hair is not at all the goal, so I really try to keep it to a minimum.
That’s it. I truly do hope you find this helpful if you’re a curly like me who is always trying to figure out how the fuck to maintain her hair. Check back because I’m sure I’ll add or subtract something sometime soon, but for now, this curly hair routine really works for me!
SHOP THE PRODUCTS

MORE EMMAS(BEAUTY)THING